File Plan
Retention labels are a crucial aspect of records management, helping organizations to manage regulatory, legal, and business-critical records. With retention labels, you can mark items as records and then configure retention periods and actions for them based on various factors. While retention labels can be managed from Data lifecycle management in the Microsoft Purview compliance portal, Records management offers additional management capabilities, known as file plan.
One of the key benefits of file plan is that it allows you to bulk-create retention labels by importing relevant information from a spreadsheet. This feature can be especially helpful when dealing with a large number of records. Additionally, file plan allows you to export the information from existing retention labels for analysis and offline collaboration, which can be useful for auditing and reporting purposes.
Another benefit of file plan is that it provides more information about the retention labels, making it easier to view and manage them from a single location. This feature helps you to better organize and manage your retention labels, which can be helpful when dealing with a large number of records.
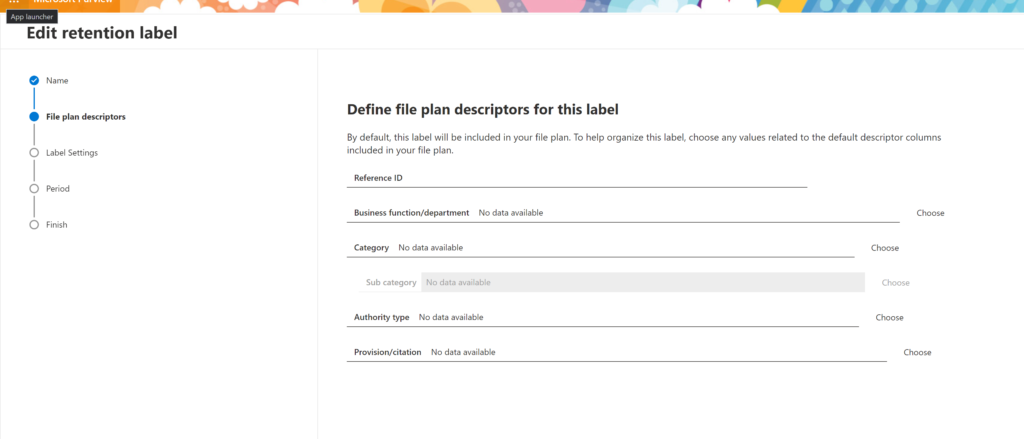
Moreover, file plan descriptors support additional and optional information for each label. This allows you to provide more context and information about each label, which can be helpful for compliance and regulatory purposes.
It’s important to note that file plan can be used for all retention labels, even those that don’t mark content as a record. This means that even if you don’t need to mark content as a record, you can still use file plan to manage retention labels for other types of content.
In conclusion, file plan offers additional management capabilities for retention labels, providing a more comprehensive solution for records management. With file plan, you can manage retention labels more efficiently and effectively, helping you to comply with regulations and manage your records throughout their lifecycle.
Access to File Plan
To access File plan, you must have one of the following admin roles: Retention Manager, View-only Retention Manager, or global admin.
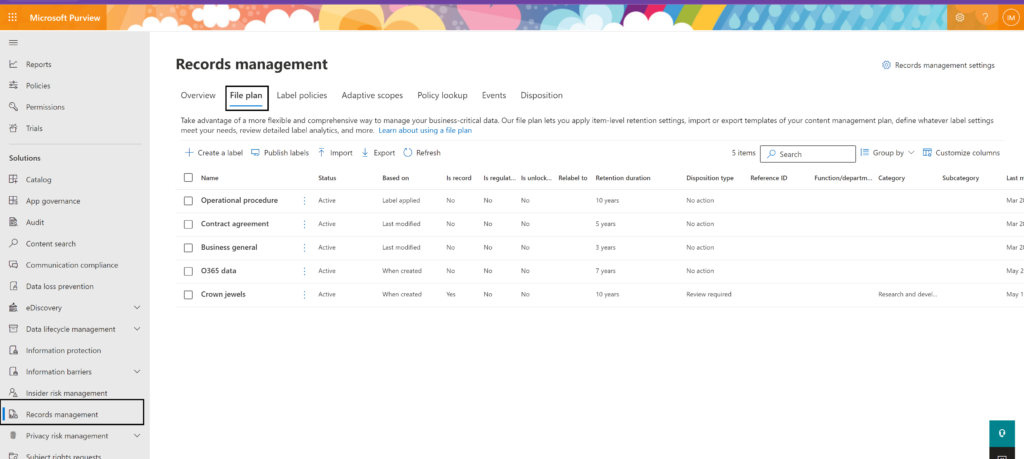
To access File plan, navigate to the Microsoft Purview compliance portal and select Solutions from the left-hand navigation menu. From there, choose Records management and then File plan.
If you’ve already created retention labels from Data lifecycle management in the Microsoft Purview compliance portal, these labels automatically display in your file plan. Similarly, if you now create retention labels in file plan, they’re also available from Data lifecycle management if the labels aren’t configured to mark content as a record.
Actions
From the File Plan menu in the Microsoft Purview compliance portal, you can perform several actions related to retention labels management. These actions include creating, editing, and deleting retention labels, as well as exporting them for analysis or offline reviews. In addition, you can also import retention labels and add/fill descriptor columns.
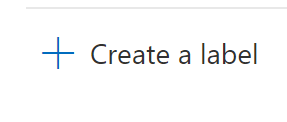
Creating retention labels is an essential aspect of records management as it allows you to identify and apply retention policies to specific content. With File Plan, you can create new retention labels by clicking on the “New Label” button in the top menu. This will open a new window where you can specify the label’s name, description, retention period, and other details.
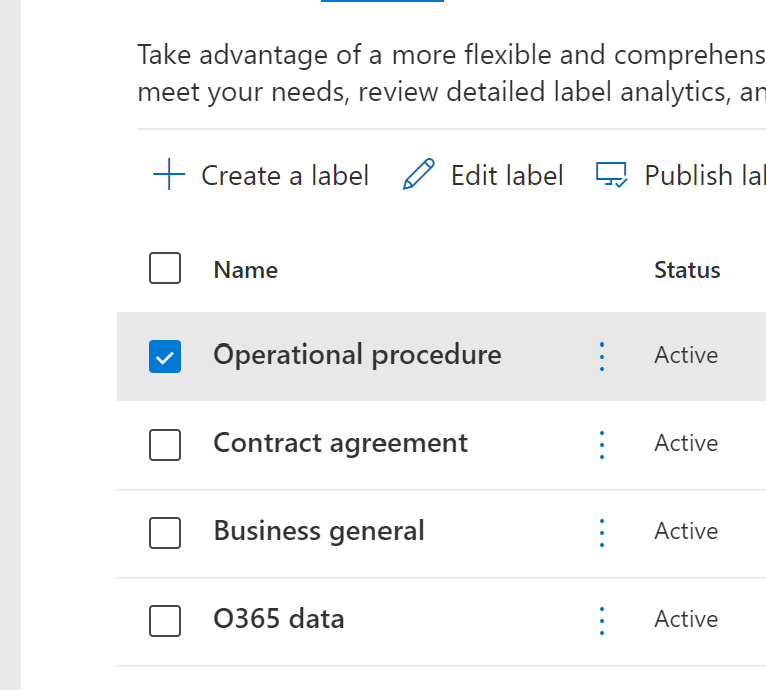
Editing retention labels is also a simple process. You can select the label you want to modify from the list and click on the “Edit label” button in the top menu. This will open the label’s settings, where you can adjust the retention period, add descriptors, or change other settings.
Deleting retention labels is another important action you can perform from the File Plan menu. Simply select the label you want to remove from the list and click on the “Delete” button in the top menu. You’ll be prompted to confirm the action before the label is permanently removed.
Please consider the following when deleting retention labels:
When you delete a retention label in Microsoft 365, any items that were previously assigned that label will no longer have that label applied to them. However, it’s important to note that the deletion of a retention label does not automatically trigger the deletion of items that were previously labeled with it.
If the label that you’re deleting is a label that marks items as a record or regulatory record, you’ll need to ensure that those items are disposed of in accordance with your organization’s retention policies and any relevant regulatory requirements. This might involve moving the items to a secure location for archiving or permanently deleting them.
It’s also worth noting that if you delete a retention label that is currently being used in a retention policy, the policy will continue to be in effect for any items that were previously assigned that label. In other words, deleting the label will not automatically remove the label from any retention policies that are using it.
Overall, it’s important to carefully consider the implications of deleting a retention label and to ensure that any necessary actions are taken to manage the disposition of items that were previously labeled with that label.
Exporting retention labels is a useful feature if you need to analyze or collaborate on retention policies offline. You can export retention labels to a CSV file by clicking on the “Export” button in the top menu. This will download a file containing all the retention label information that you can open in Excel or other spreadsheet applications.
Importing retention labels is also possible in File Plan. You can import retention labels from a CSV file by clicking on the “Import” button in the top menu. This will open a new window where you can select the file you want to import and specify how the retention labels should be mapped.
Finally, adding and filling descriptor columns is an advanced feature that allows you to add custom fields to retention labels. These fields can contain additional information about the content, such as author, department, or project name. To add and fill descriptor columns, select the label you want to modify and click on the “edit label” button in the top menu. This will open a new window where you can specify the additional information.
What is next?
To actually start filling the file plan (or creation your retention labels via the Data lifecycle management options), it would be best to first get your business and organizational needs into place first. Hence in the next post we will talk about conducting a needs assessment, developing a records management schedule and creating policies and procedures.
Please note that this blog is part of a series on Records management using the Microsoft Purview platform.